

Add Texture To Material Blender
How to Add Textures in Blender: A Stride-by-Step Guide
Adding textures to your models in Blender gives them character. We're going to show you how to do it.
The world effectually us is rich in texture; the surfaces of most visible objects are textured. As such, in computer graphics, a "texture" just refers to how the surface of an object looks, and it'southward independent of its shape.
In this article, we're going to show you lot how to add textures in Blender. Allow's bound right in!
Getting Started
Before nosotros begin with adding the textures in Blender, yous'll beginning need a texture file saved to your computer. This could be a texture file in PBR format, or physically based rendering, which is the process of creating digital two-dimensional images which store surface and color information that will be projected onto a 3D object.
Withal, whatever other format that Blender supports can as well be used. Various websites provide free texture files, such every bit PolyHaven.
You'll as well need an object to apply the texture to. Nosotros started off with a unproblematic cube and added some more complex objects with more variation in their surfaces.
Step ane: Create a New Textile
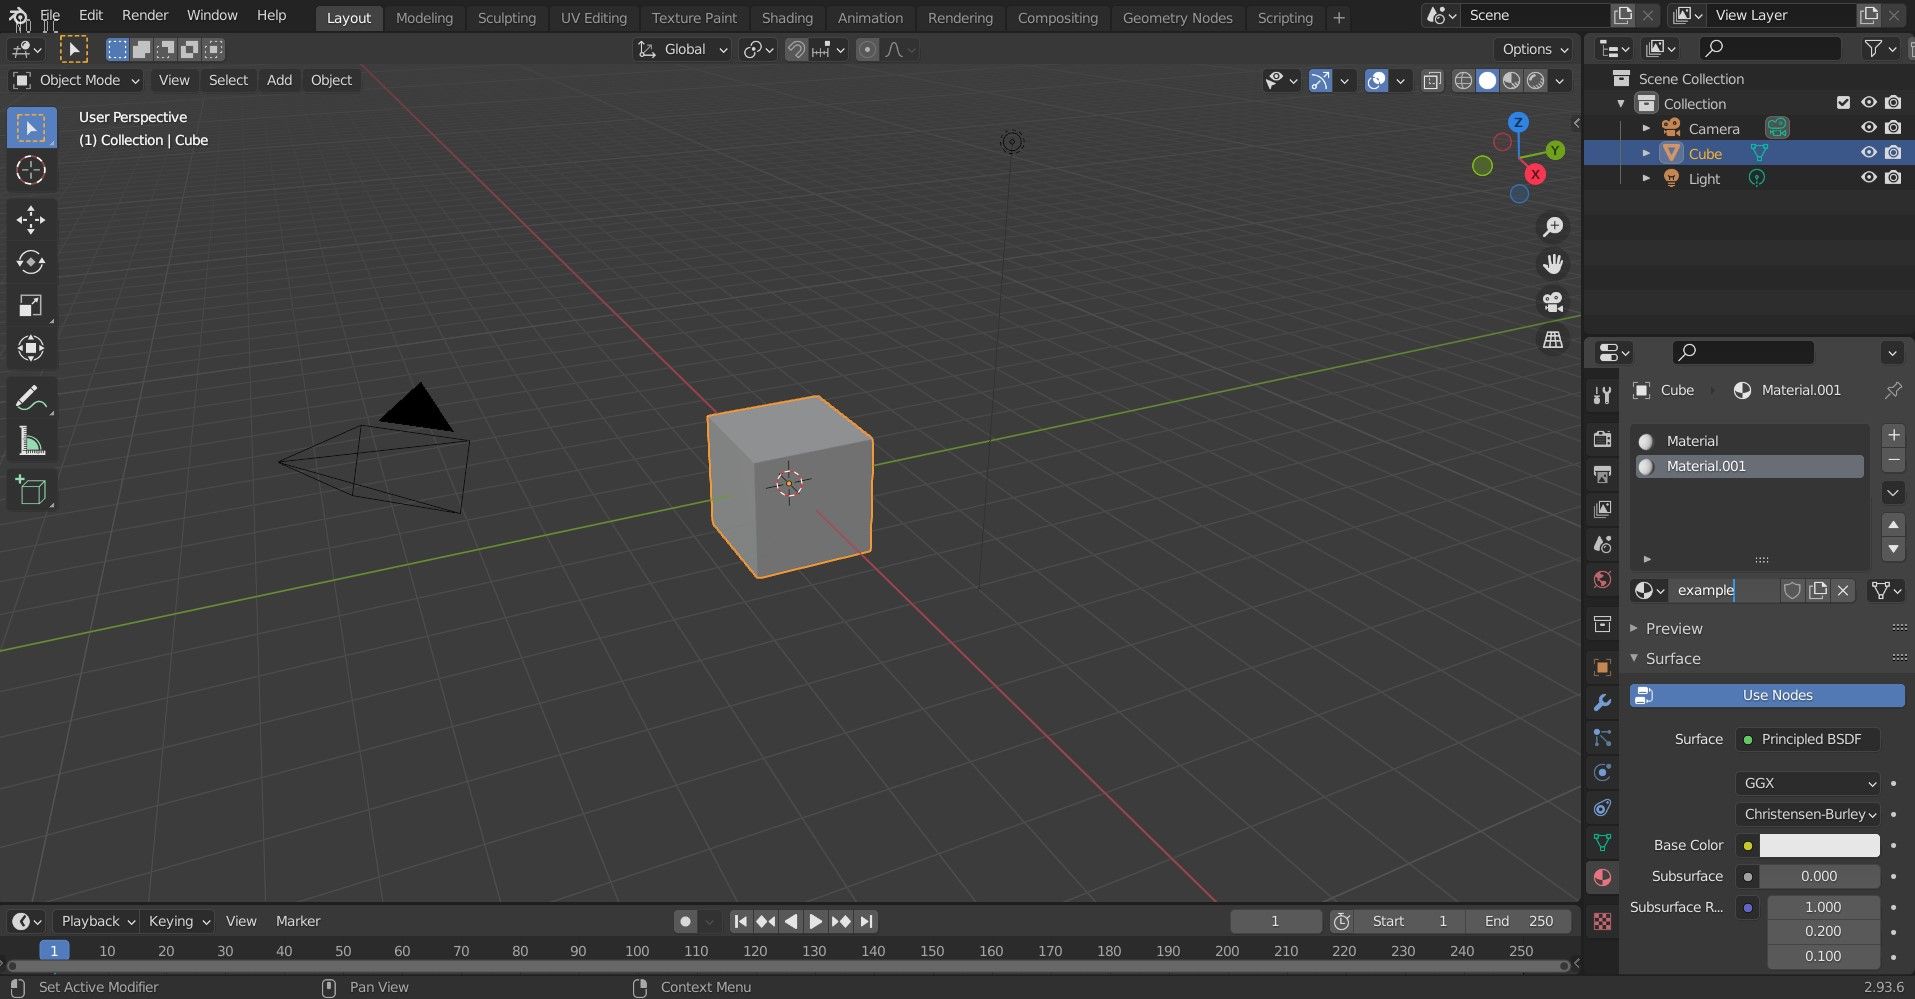
Before you can add texture, you'll need to assign a cloth to the object. Follow the steps below:
- Left-click on the cube and select Materials (the sphere icon located in the bottom right corner).
- Click the plus icon (+) to add a new material.
- Rename the textile. For this example, we will proper name ours "instance".
Now that the textile has been assigned and named, it'south fourth dimension to apply the texture.
Footstep 2: Import and Apply the Texture
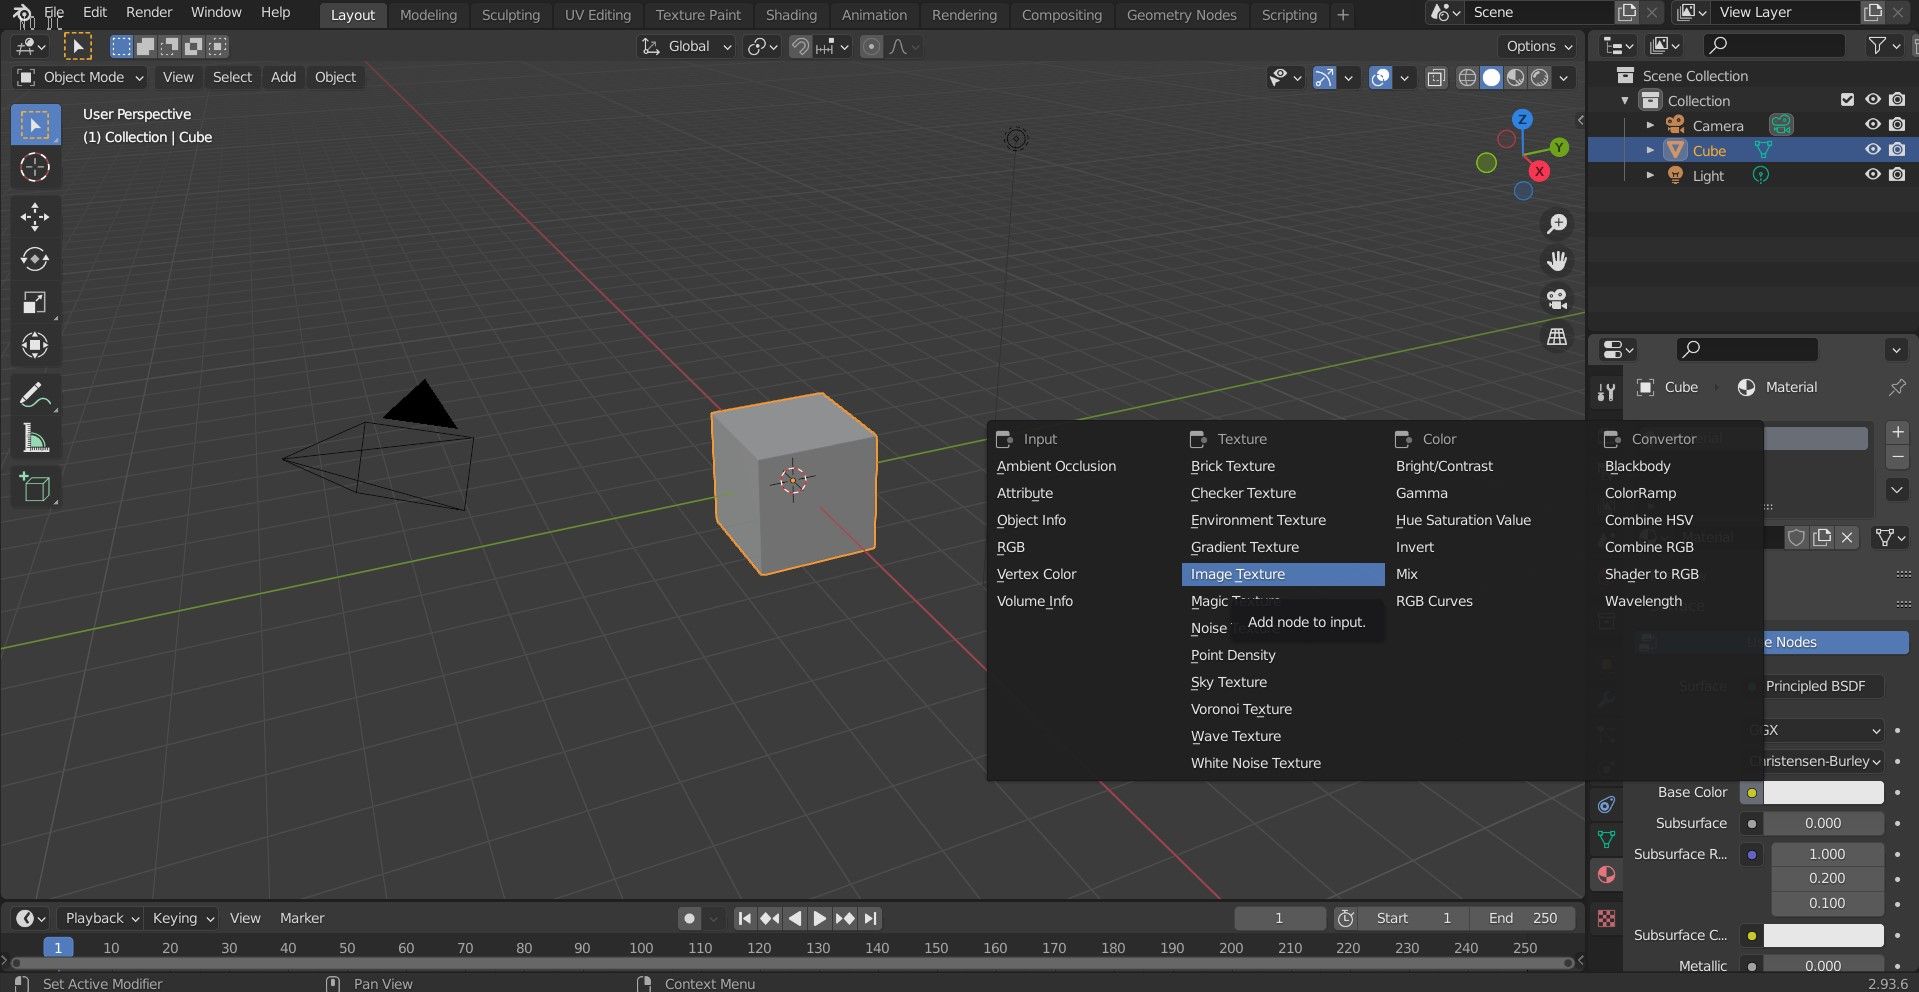
Follow these steps to apply the image texture to the object:
- In the Materials tab, locate Base Color and click on the small yellow dot next to it.
- Select Image Texture.
- Click on Open and locate the texture file you've downloaded earlier to import it.
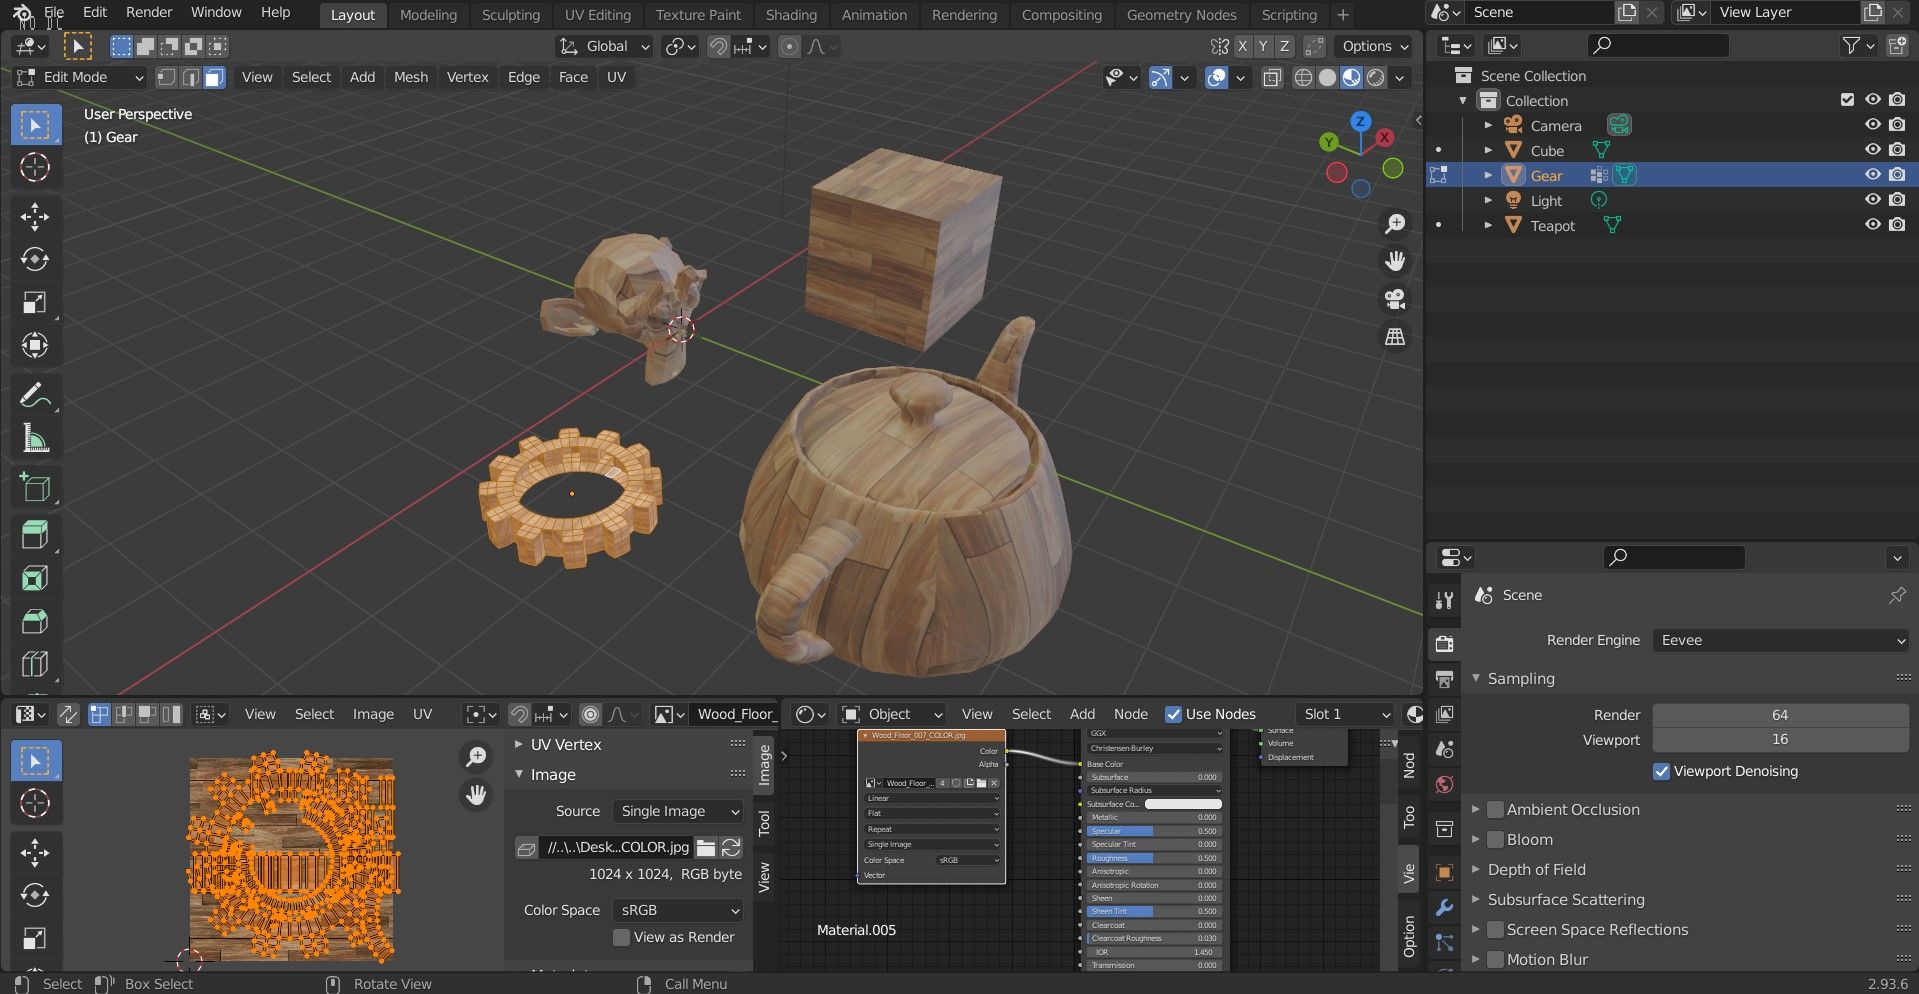
After importing, you may find that the object yet looks the aforementioned. To view the changes, yous'll need to enable Material Preview mode in the viewport; click on the sphere located at the top right-hand corner of the viewport. Selecting Display Render Preview mode besides lets yous encounter the texture.
Step 3: Unwrap the Object
Want more than control over the appearance? Yous can do that by telling Blender how to map the texture to the faces of the object. To do this requires UV mapping, but offset, you need to unwrap your object, which is the process of turning the surface of a 3D object into a apartment second aeroplane. In a sense, information technology's similar unfolding the cube back into its flat state.
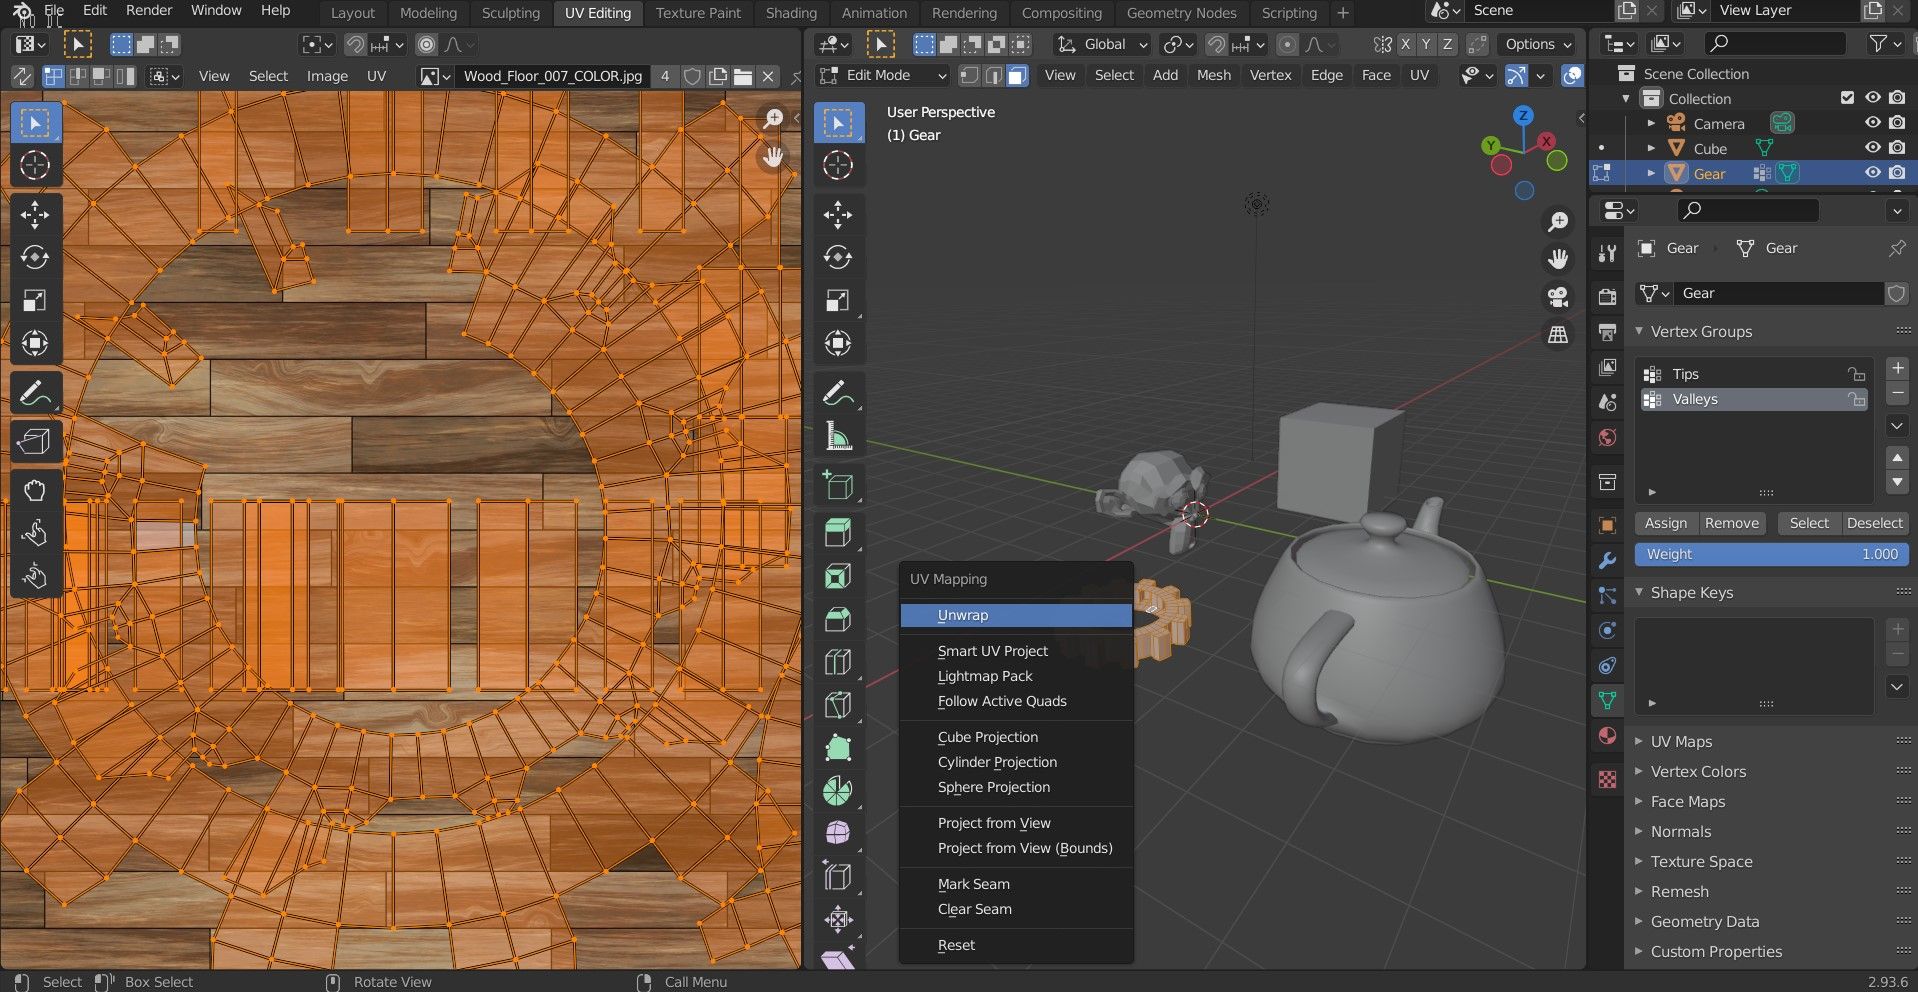
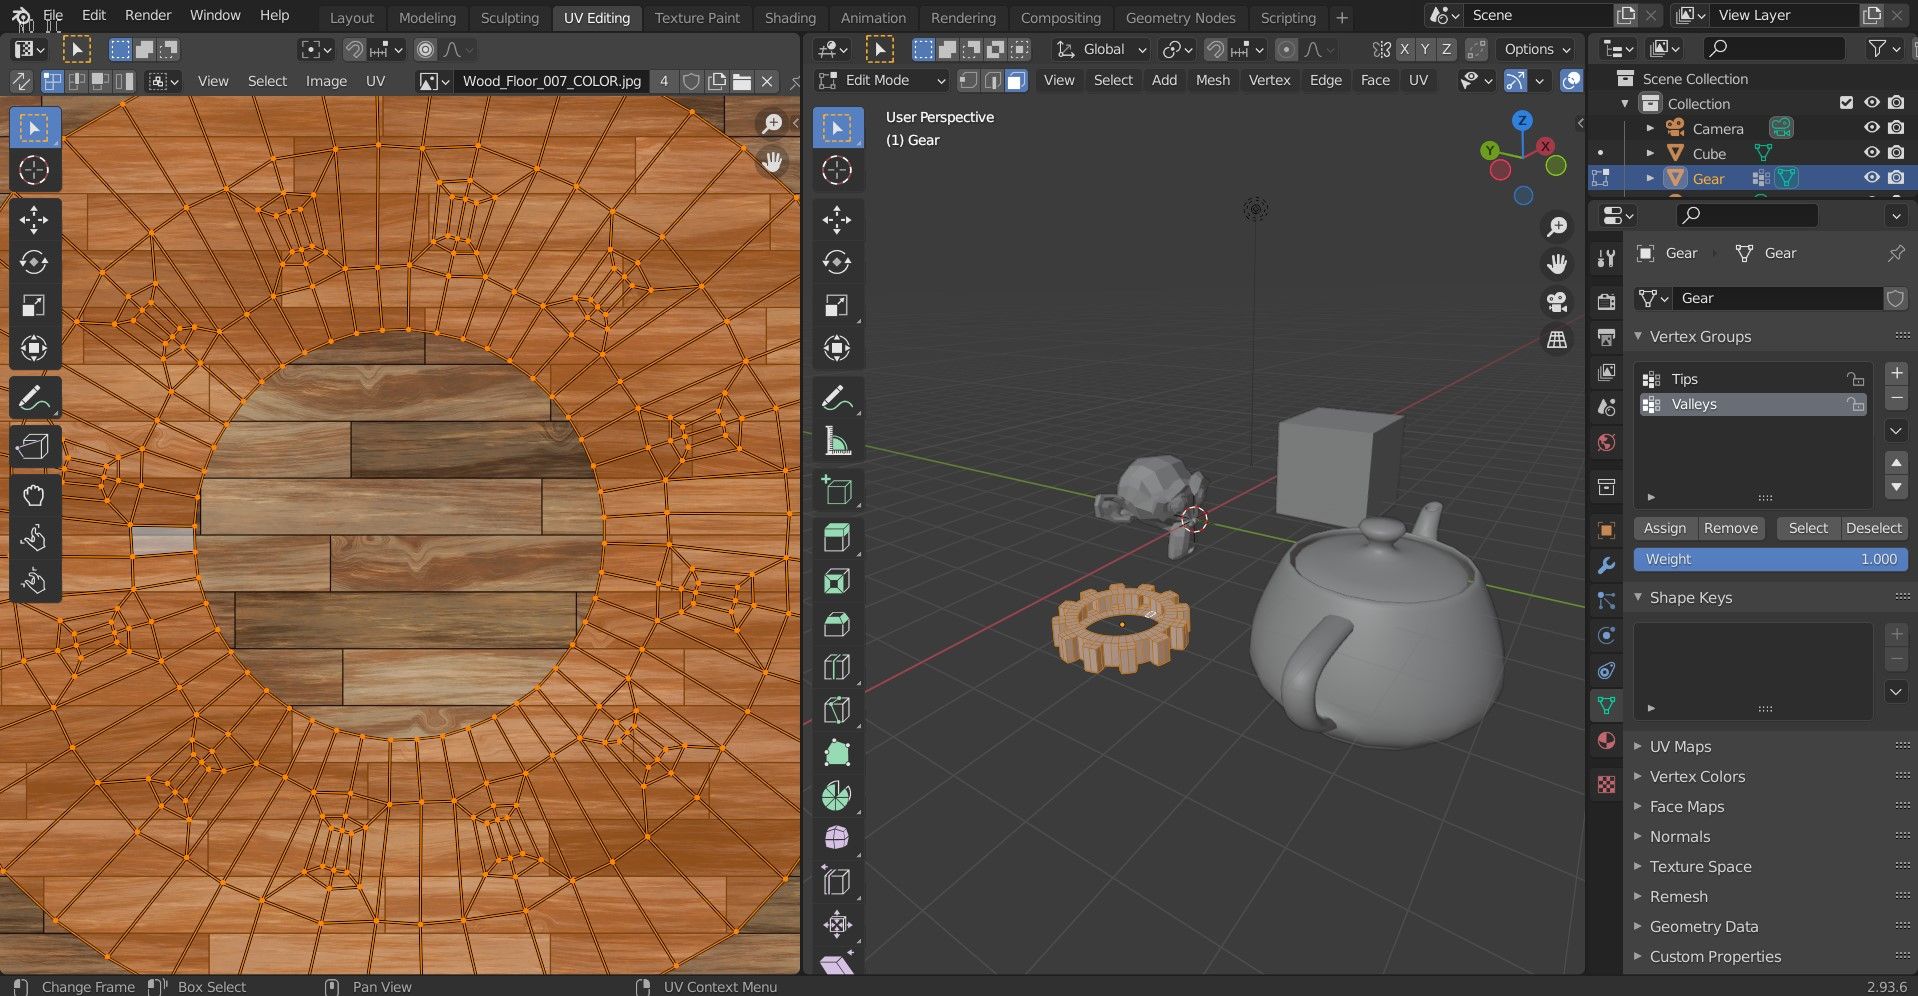
To UV unwrap, click on the object and follow these steps:
- Click UV Editing at the top. You lot'll run across the 3D viewport on the correct and the UV Editor on the left.
- Select the object by pressing A on the keyboard.
- To unwrap the object, press U on the keyboard.
Pace four: Cleaning Upwards
Sometimes, the texture may non brandish the manner you intended right later on UV unwrapping. This tin happen if the texture wasn't made specifically for the object. Follow the steps beneath to work around this:

- Select the object and become into Edit Mode past pressing the Tab key.
- Change the editor type box to UV Editing.
- Select the parts of the unwrapped object you lot want to edit. To scale it, printing South and motility your mouse accordingly.
Add Absurd Textures to Your Objects in Blender
Despite beingness gratuitous, Blender is a very capable software that enables y'all to create industry-level quality models. In this article, you've learned how to add textures to your models in Blender. Take the next steps and learn almost all the other cool things yous can practice with this program; there are many tutorials to help you get started.

Add Texture To Material Blender,
Source: https://www.makeuseof.com/how-to-add-textures-blender/
Posted by: albrittonoughted2001.blogspot.com
0 Response to "Add Texture To Material Blender"
Post a Comment